BEVEL
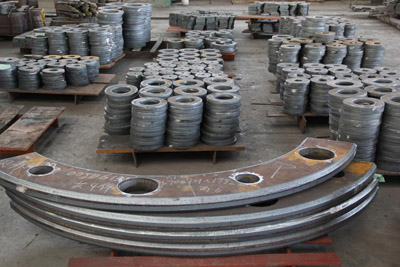
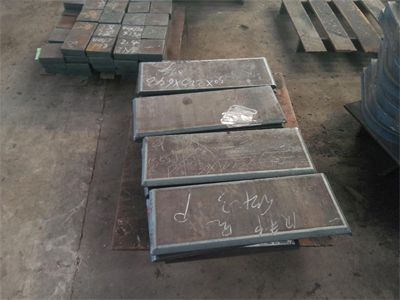
Add rounded corners in metal plate Angle place, make it not sharp, increase their sexual contact.
In order to remove the parts because of the machining burrs, also in order to facilitate part assembly, generally at the end of the parts made of Chamfering is 45 ° more, also can be made into 30 ° and 60 °.

Bevel surface defect tolerance:
SURFACE DEFECT FOR CUTTING SURFACE |
|||
|
Grade |
Defect width |
Defect depth |
Depth space |
|
1 |
≤3 |
≤1 |
≥3 |
|
2 |
≤5 |
≤1.5 |
≥2 |
Bevel thick tolerance:
|
The angle and depth tolerance range for cutting surface of bevels |
|||
|
Grade |
Bevel angle |
Thickness of root face |
thickness of root face > 4mm |
|
Bevel thickness tolerance |
|||
|
1 |
±2.5 |
±0.5 |
±1.0 |
|
2 |
±5 |
±1.0 |
±2.0 |
Explain for lendth dimension tolerance:
The tolerance of the length dimension for cutting surface |
||||||||
|
Grade |
DIN |
Cutting thickness |
||||||
|
6--10 |
>10-50 |
>50-100 |
>100-150 |
>150-200 |
>200-250 |
>250-300 |
||
|
Tolerance range |
||||||||
|
A |
≤315 |
±0.5 |
±0.7 |
±1.0 |
±2.0 |
±2.5 |
|
|
|
>315-1000 |
±0.7 |
±1.0 |
±2.0 |
±2.5 |
±3.0 |
±3.5 |
±4.0 |
|
|
>1000-2000 |
±1.0 |
±1.5 |
±2.5 |
±3.0 |
±3.5 |
±4.0 |
±5.0 |
|
|
>2000-4000 |
±1.5 |
±2.0 |
±3.0 |
±4.0 |
±4.5 |
±5.0 |
±6.0 |
|
|
>4000-6000 |
±2.0 |
±2.5 |
±3.5 |
±4.5 |
±5.0 |
±6.0 |
±7.0 |
|
|
>6000 |
±2.5 |
±3.0 |
±4.0 |
±5.0 |
±6.0 |
±7.0 |
±8.0 |
|

- [Basic service] Cutting
- [Basic service] pre-treatment
- [Basic service] Galvanization
- [Basic service] Test
- [Basic service] Heat treatment
- [Machining Service] DRILLING PROCESSING
- [Machining Service] BENDING
- [Machining Service] MILLING PROCESSING SERVICE
- [Machining Service] HEAT-TRATMENT
- [Machining Service] Professional Design and professional blanking
- [Machining Service] CUTTING PROCESSING SERVICES
- [Machining Service] SAND BLASTING AND SHOP PRIMER


